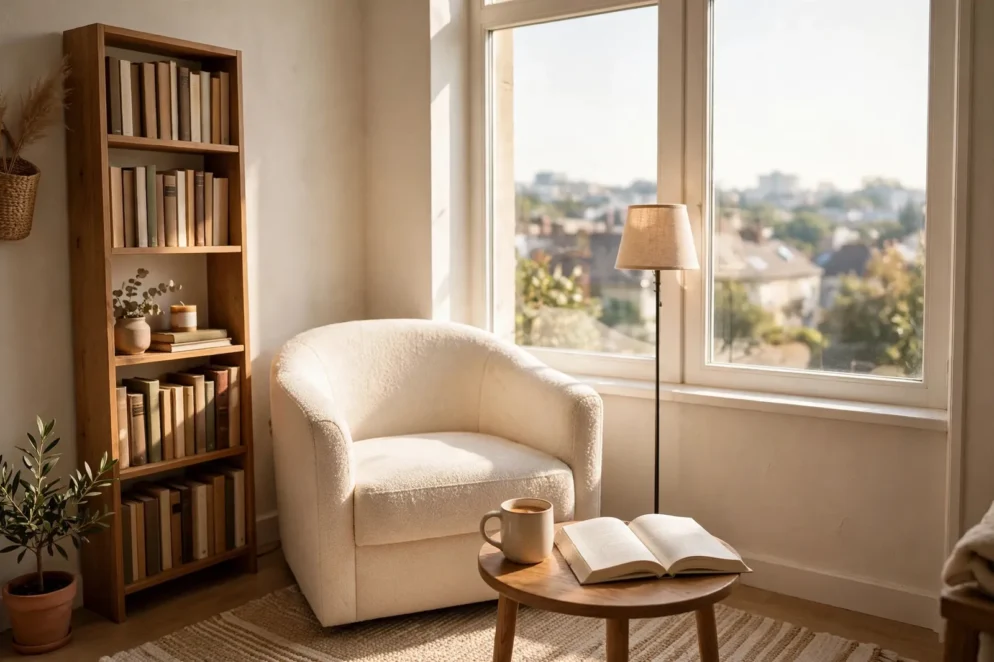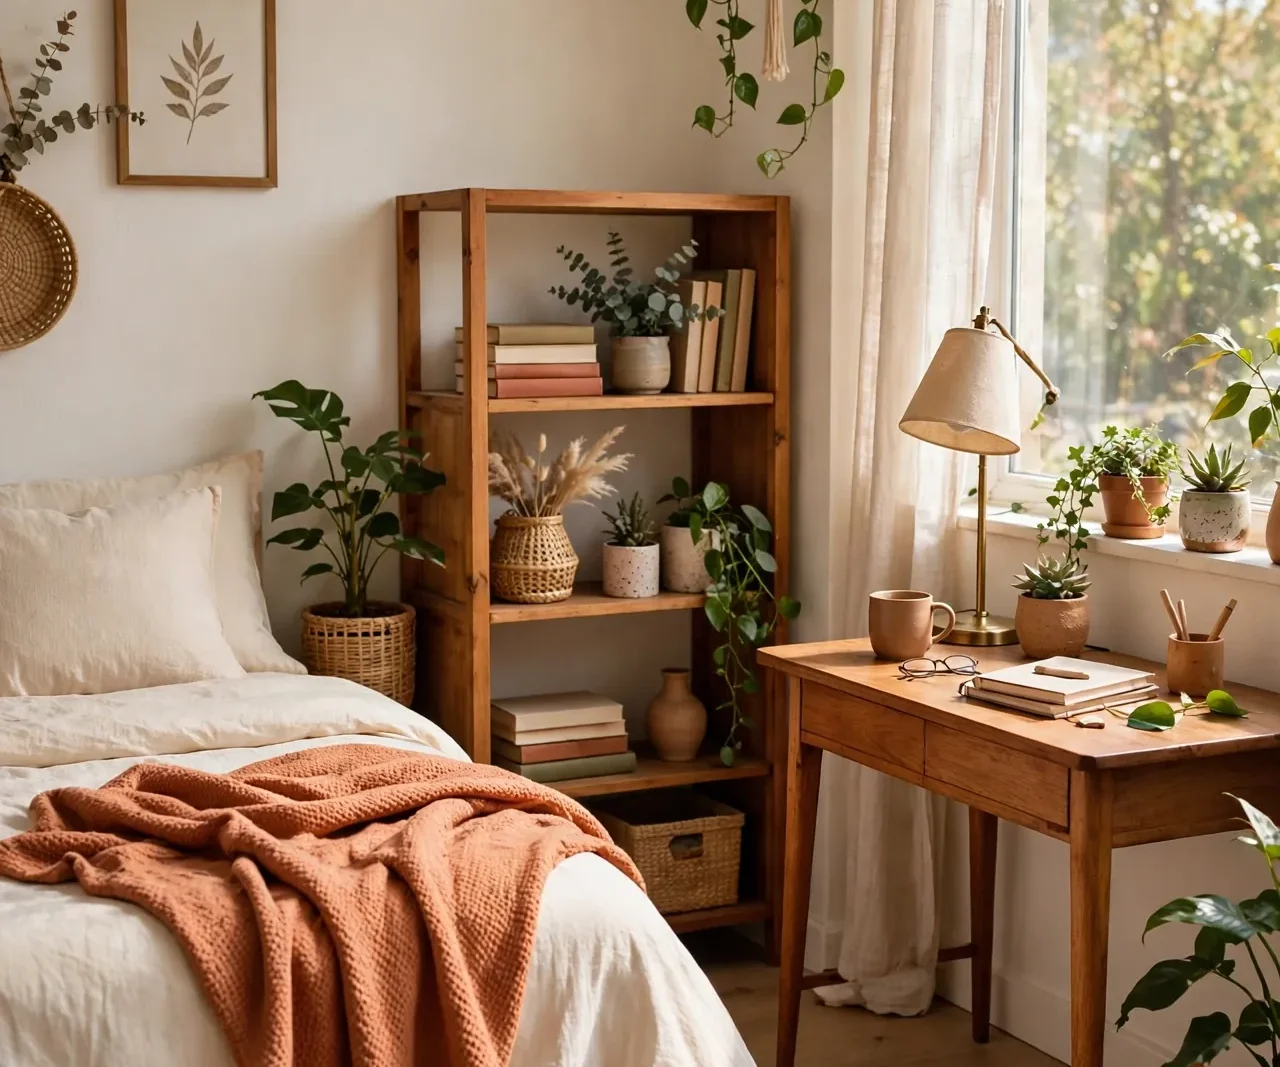
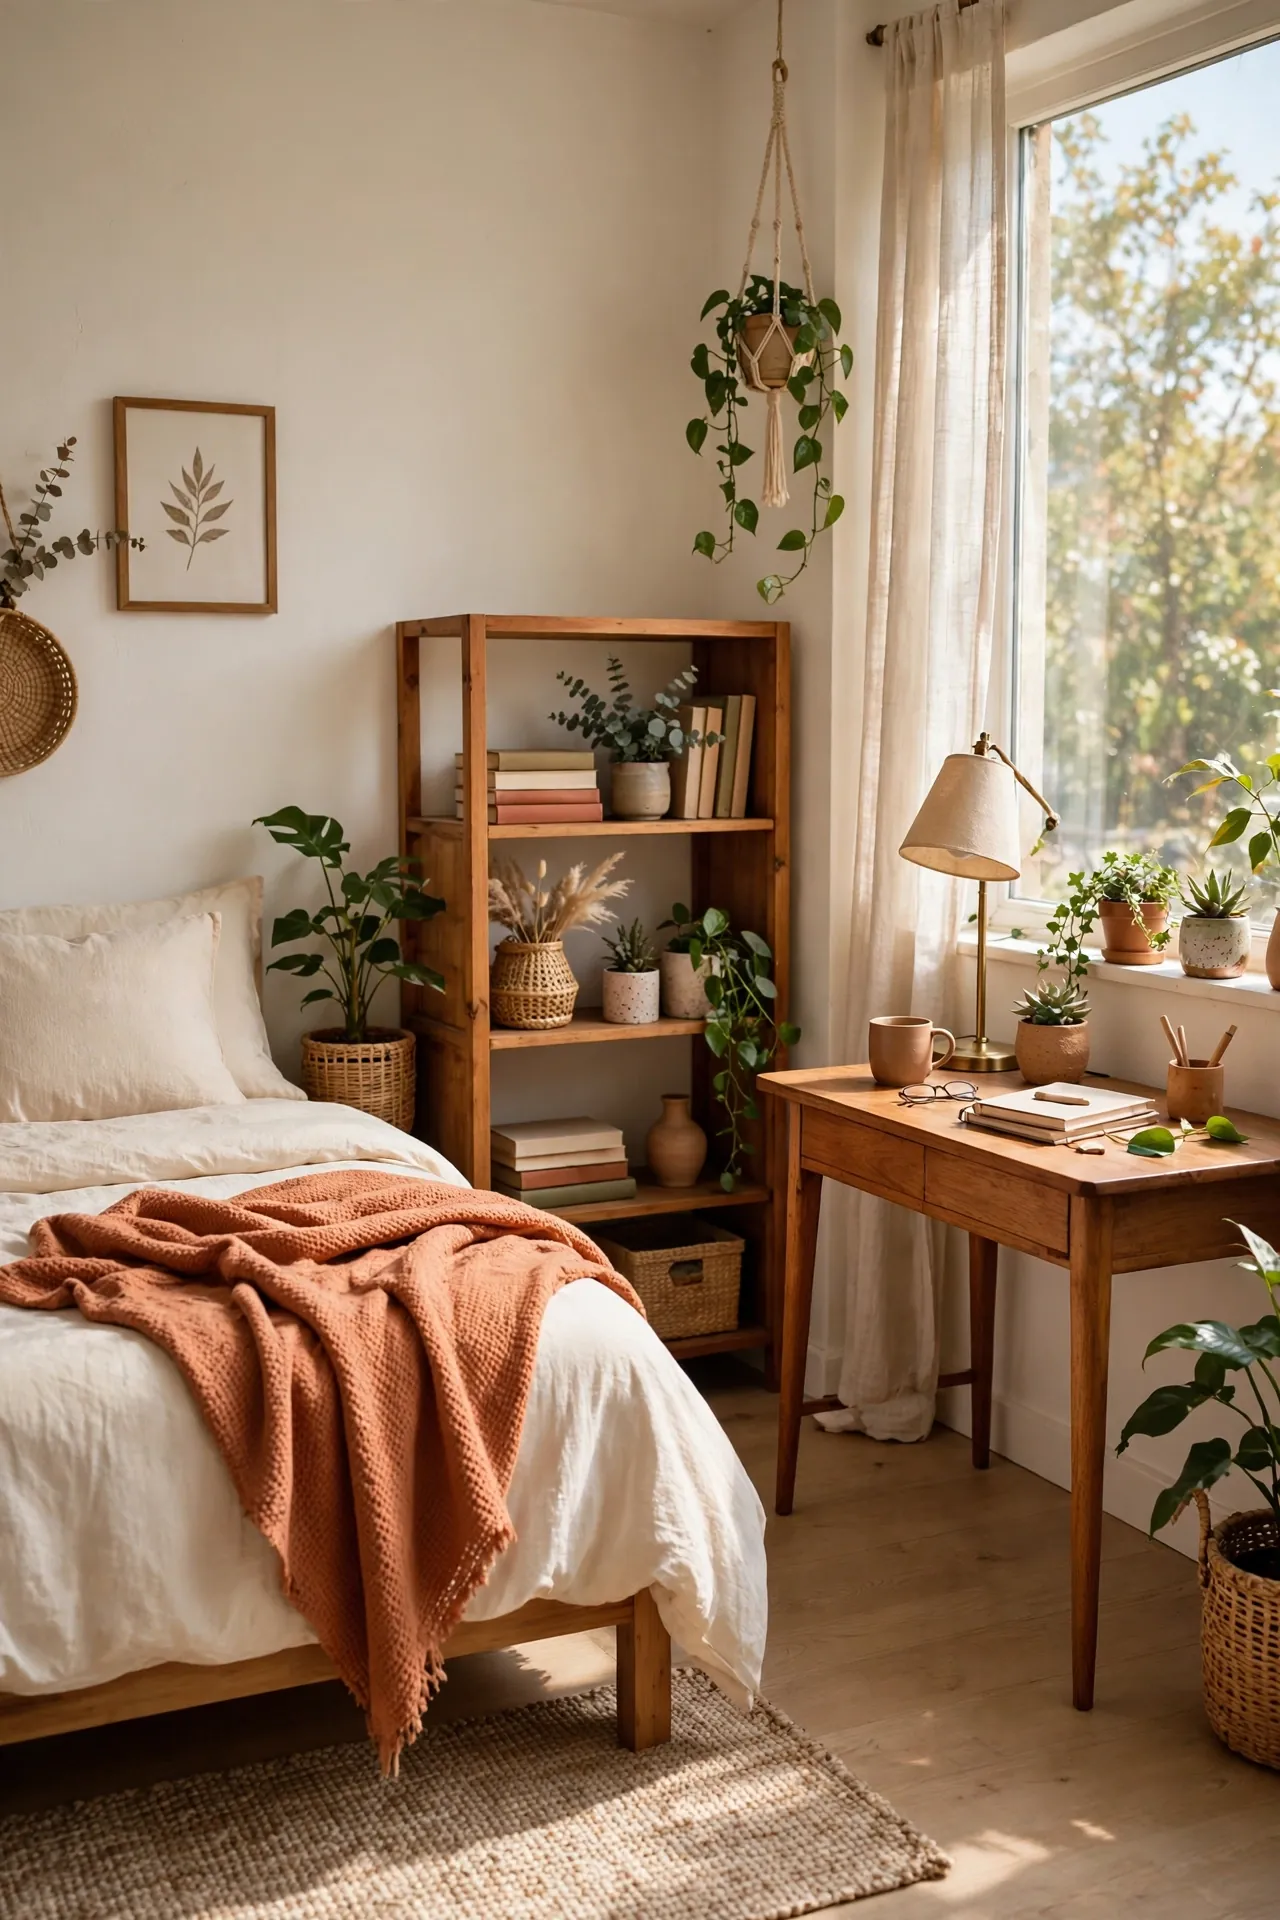
A studio apartment isn’t really one room — it’s three rooms that happen to share an address. The problem is that most studios are decorated like one big space: bed in the corner, sofa wherever it fits, desk squeezed against whatever wall is left. The result feels less like a home and more like a waiting room you sleep in.
The fix is zoning: giving the sleep, live and work areas their own edges, their own light and their own “floor,” so your brain reads three small rooms instead of one crowded one. None of it needs construction or a landlord’s permission — rugs, one open shelf, a curtain and right-size furniture do almost all of the work. Total budget for the full setup: roughly $200–$400, phased happily over two or three weekends if you’d rather spread the cost.
Quick glance
- Budget: $0 to plan and rearrange; ~$200–$400 for the full zoned setup, phased
- Time: one afternoon to zone and rearrange; a weekend per phase after that
- Difficulty: beginner — tape measure, no tools, nothing permanent
- Renter-safe: yes, 100% — every divider and fixture is freestanding or removable
1. Draw the zones before you move a single thing
Measure the room and sketch three rectangles on paper — ten minutes that save hours of furniture-wrestling. Work backwards from the bed, the biggest, least flexible piece: a full or queen needs a zone of roughly 7 × 9 feet including a margin to make the bed and climb in. Give the living zone the best light and the window; about 8 × 6 feet fits a loveseat, a rug and a small table. The work zone needs a strip just 4 feet wide for a 36–42 inch desk and a chair.
Keep one clear path from the door to the window and bathroom of at least 24–30 inches — it’s the “hallway” of your studio, and if it gets blocked, the whole space feels like an obstacle course. When you’re done rearranging, photograph the room from the doorway: the camera shows zone creep (stuff drifting out of its area) faster than your eyes do.
Budget tip: painter’s tape on the floor is the cheapest design tool there is — tape the outline of each zone and of any furniture you’re thinking of buying, live with it for two days, and only then spend money.
2. Give every zone its own rug — rugs are room dividers you can roll up
A rug is the fastest way to tell the eye “a new room starts here.” The living zone gets the anchor rug: 5×8 feet is right for most studios, with at least the front legs of the loveseat and chair on it (the same front-legs rule as any small living room). The sleep zone needs less — a 3×5 foot rug or a runner beside the bed, just enough to land on something warm in the morning and to draw a visual line at the foot of the bed. The work zone often needs no rug at all; bare floor between rug edges quietly separates it.
Keep the rugs in the same colour family (your 60% neutral), and let the living rug carry the one pattern. Low pile everywhere — doors swing over it and desk chairs roll on it. One decent washable 5×8 runs $60–$130; the small sleep-zone rug is a $20–$40 purchase.
Budget tip: buy the big rug first and live with one zone “unfloored” for a month if you need to — a phased purchase beats a cheap, too-small rug in every zone.
3. Divide sleep from living with an open bookshelf
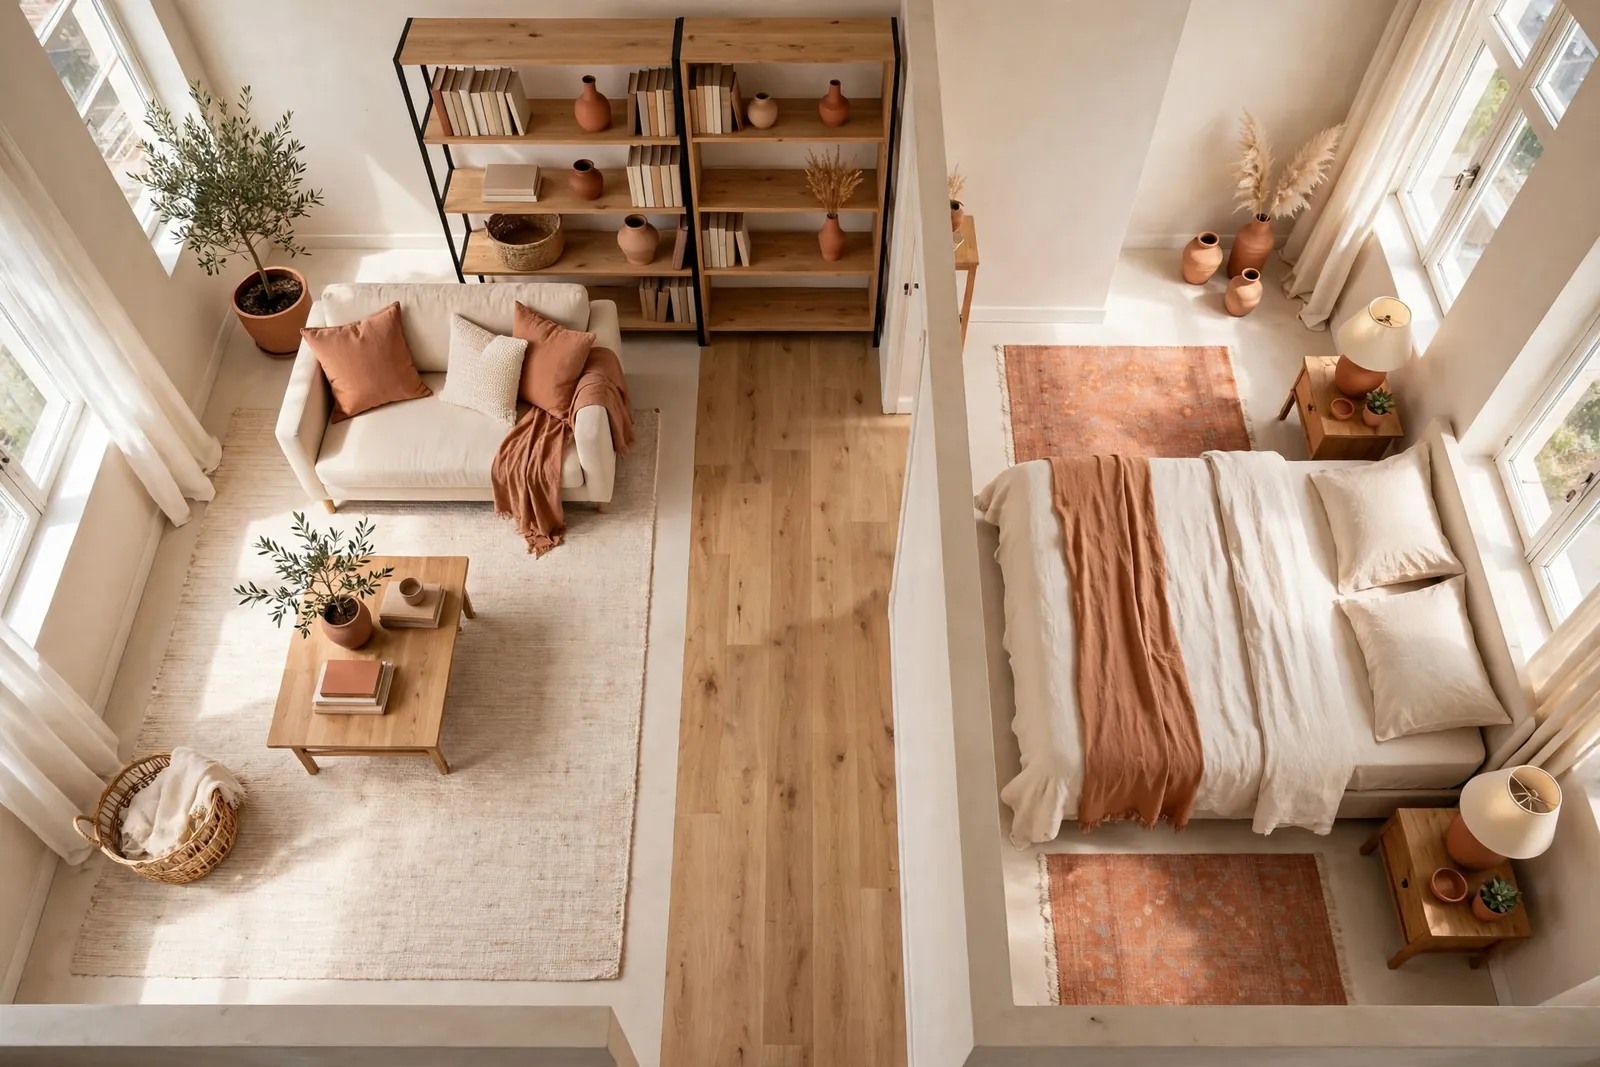
The classic studio divider is a cube or open-back bookshelf at the foot or side of the bed, perpendicular to the wall. Open-back matters: it blocks the sightline from sofa to pillows — which is what makes the bed zone feel private — while still letting light and air through, so neither zone feels like a cupboard. Choose one around 48–54 inches tall (high enough to hide the bed from a seated eye line, low enough to keep the room open) and 30–36 inches wide, so it doesn’t eat the floor.
Style it from both sides, because you’ll see both: books and closed boxes on the sleep side, the prettier objects on the living side, and leave a third of the cubes empty so it never reads as a wall of clutter. Anchor it by butting one end against the wall — freestanding in the middle of nowhere, a shelf looks like storage that got lost. A sturdy cube shelf runs $60–$120, and it earns its place twice over as the studio’s main storage (see Idea 7).
Budget tip: second-hand cube shelves are everywhere and usually $20–$40 — check the wobble before you buy; a divider shelf must be rock-steady, and walk away from any that rack side to side.
4. Or soften the divide with a curtain — the renter’s wall
If a shelf is too much furniture for your floor plan, hang a curtain where the wall would go. A curtain across the bed alcove or along the side of the sleep zone gives you the single most apartment-changing trick there is: the ability to “close the bedroom door.” Out of sight, the unmade bed stops dominating the room, and guests stop feeling like they’re sitting in your bedroom.
Hang it without drilling: a tension rod between two walls works for spans up to about 6–7 feet with a lightweight panel; for wider spans, ceiling-mount adhesive hooks rated for the load can hold a wire line or slim rod — always respect the stated weight limit and use light fabric (linen-look polyester or voile). Keep the panel the room’s neutral colour so the “wall” disappears, and end it ½ inch above the floor — puddling fabric in a walkway is a trip hazard. Curtain plus tension rod together: $25–$45.
Budget tip: one wide panel pulled to one side looks more deliberate than two skimpy ones — buy the width for the full span, gathered, rather than two panels stretched flat.
5. Light each zone separately — three zones, three pools of light
One ceiling light announces “single room” louder than anything else. Give each zone its own source at its own height: a floor lamp (55–65 inches) beside the loveseat, a desk lamp at the work zone, and one low, warm lamp or LED candle cluster at the bedside. Switched on together in the evening, they draw three pools of light, and the eye reads three rooms — it’s the cheapest zoning in this whole guide if you already own lamps.
Keep every bulb at 2700K warm white, the same temperature in all three zones; mixed colour temperatures make a studio feel like three different apartments arguing with each other. A thrifted lamp runs $10–$25, and a new shade ($10–$15) makes it look intentional. If you can only add one light, add the bedside one — it’s what lets you “turn off the living room” at night while the sleep zone stays lit.
Budget tip: put the living-zone lamp on a $8–$12 plug-in timer or smart plug — coming home to a lit “room” instead of a dark box changes the whole feel for the price of lunch.
6. Right-size the furniture — apartment scale, not house scale
Most studios feel cramped because the furniture is house-sized. Swap by the numbers: a loveseat 55–65 inches wide instead of a standard 84-inch sofa; a coffee table around 36 × 20 inches (or two small side tables that can move); a desk 36–42 inches wide and 20–24 deep — enough for a laptop and a lamp, not a home office. Dining is a drop-leaf table (leaves down: ~12–15 inches deep against the wall; open: seats four) or a 30–32 inch round café table.
Leave 2–3 inches of air around each piece — furniture jammed edge-to-edge reads as storage, while small gaps read as chosen. Armless or low-arm chairs, and pieces on visible legs, keep sightlines moving under and around, which is free visual space. This is the one idea that can cost real money, so do it last, one piece at a time; a right-size loveseat on sale or second-hand runs $150–$350, and selling the old sofa often covers half.
Budget tip: before buying anything “smaller,” tape its footprint on the floor (Idea 1) and live around the tape for a weekend — most people discover the piece they need is 6 inches narrower than the one in their cart.
7. Store vertically — in a studio, the walls are your extra room
Floor space is spent; wall height is free. The renter-safe way up: a leaning ladder shelf (no fixings — feet on the floor, top resting on the wall), a tall narrow bookcase (24 inches wide × 72 tall stores a surprising amount), over-door hooks and organisers on the bathroom and closet doors, and picture ledges on adhesive strips for books and small objects — always within the strips’ weight rating, two pairs per ledge. Keep the heaviest storage (files, tools, off-season clothes) in closed boxes on the highest and lowest shelves; eye-level shelves get the things you’re happy to look at.
Under the bed is the studio’s hidden closet: most frames give you 6–7 inches of clearance, enough for flat lidded bins with bedding and off-season clothes ($15–$30 for a set). In the living zone, a storage ottoman ($30–$60) is seating, footrest and blanket box in one. The rule that keeps vertical storage from becoming vertical clutter: anything stored in the open goes in a container; loose items live only behind a door, a curtain or a lid.
Budget tip: uniform boxes make any shelf look expensive — five matching $3 boxes read as a system, while ten assorted containers read as a pile, even if the contents are identical.
8. Repeat one palette and one texture in all three zones
Zoning divides the room; repetition stops it feeling like three strangers sharing a lease. Pick the 60-30-10 palette once — a warm neutral base, one supporting colour, one accent — then deliberately repeat the accent in every zone: the loveseat’s cushion colour reappears as the desk lamp’s shade and as the throw across the bed. Same with one texture: if the living rug is a woven jute-look, the bedside basket and the desk mat echo it.
This is also where the zones get their finishing edges: a tray on the coffee table, a small stack of books at the bedside, and the desk kept to a three-item surface (lamp, laptop, one object). Every zone gets one “hero” at most — the art over the loveseat, the plant by the bed, the print above the desk — and everything around each hero stays quiet. This step costs close to $0–$30 (a throw or cushion cover to carry the accent into the sleep zone is usually the only purchase), and it’s the one visitors describe as “it just feels put together.”
Budget tip: shop your own studio first — swapping the existing throw, cushion and desk objects between zones often creates the repetition for free; buy only the one missing link colour.
Our Budget Picks for a Zoned Studio
Links below are affiliate links — the price is the same for you; see our Affiliate Disclosure for details. Placeholders are marked for the final product links.
- Washable low-pile rug, 5×8 ft — the living-zone anchor; low pile so doors and desk chairs move freely. $60–$130.
- Open cube bookshelf, 6–8 cubes — the divider that doubles as the studio’s main storage; check it’s steady and open-backed. $60–$120.
- Tension rod + linen-look curtain panel — the no-drill bedroom “wall”; size the panel to gather, not stretch. $25–$45 the set.
- Flat under-bed storage bins, set of 2–4 — measure your frame’s clearance first (usually 6–7 inches). $15–$30.
- Storage ottoman / cube stool — seating, footrest and hidden storage for the living zone. $30–$60.
- Warm-white 2700K LED bulbs, 4-pack — one temperature across all three zones so the light ties the room together. $8–$12.
FAQ
What is the best layout for a studio apartment?
Bed zone in the quietest corner (allow roughly 7 × 9 feet including access), living zone on the best light and the window, work zone in whatever 4-foot strip remains. Keep one clear path of 24–30 inches from the door through the room, and define each zone’s floor with a rug or a deliberate gap.
How do you divide a studio apartment without walls?
Three removable dividers do the job: an open-back bookshelf (blocks sightlines, adds storage), a curtain on a tension rod (soft, closable, the most “bedroom door” feeling), and the rugs themselves, which divide the floor visually. Lighting finishes the effect — one lamp per zone makes the divisions feel real after dark.
How much does it cost to decorate a studio apartment?
A full zoned setup is realistic at $200–$400: anchor rug ($60–$130), cube shelf divider ($60–$120), curtain and rod ($25–$45), under-bed bins and an ottoman ($45–$90), bulbs and small items ($10–$20). The layout and rearranging in Ideas 1 and 8 are free, and everything phases — zones first, furniture swaps last.
Where should the bed go in a studio apartment?
In the corner furthest from the door and the kitchen, ideally not in the direct sightline when the front door opens. Give it a small rug at the side you get out of, a low warm light of its own, and — if the floor plan allows — the curtain or shelf between it and the sofa, so the sleep zone can visually “close” at night and when guests come over.
How do you fit a desk in a small studio?
Choose a desk 36–42 inches wide and 20–24 deep — laptop, lamp, notebook, done — and place it in the work strip of your zone plan, ideally near the window but not inside the living rug’s edge, so it reads as its own area. A wall-adjacent drop-leaf desk that folds to a few inches deep is the other good option for very small studios.
Keep Going (internal links)
- The living-zone rules in full — rug size, palette, pillow formula → Small Living Room Decor on a Budget
- The sizing and spacing breakdown for the wall above your sofa → Above Couch Wall Decor Ideas
- Every no-damage wall method, rated → Rental Friendly Wall Decor Ideas
- No hallway, no problem — storage and styling for a missing entryway → Entryway Decor Ideas for Small Spaces
- Turn one corner of the studio into a reading spot → Cozy Reading Nook Ideas for Small Spaces