The wall above the couch is the biggest blank canvas in most small living rooms — and the one people are most afraid of. The art they own looks lost up there, so it stays in a closet, and the room never quite looks finished. Almost every time, the problem isn’t the art. It’s the size and the height: a piece that’s too small or hung too high will look wrong no matter how beautiful it is.
The good news is that decorators don’t eyeball this wall — they measure it. There’s a simple formula covering width, height and spacing that works for a single statement piece, a gallery grid, a mirror or a ledge, and it works in rentals too: every arrangement in this guide hangs with adhesive strips or leans, so nothing needs a drill. Most of these arrangements cost $25–$150 all-in, and the measuring part is free.
Quick glance
- Budget: $25–$150 for most arrangements; $0 if you re-hang art you already own
- Time: 30–60 minutes to measure and hang; an afternoon for a full gallery grid
- Difficulty: beginner — a tape measure, a pencil and a phone level app
- Renter-safe: yes, 100% — adhesive strips and leaning only, everything removable
1. Start with the width — the two-thirds rule
Before you choose anything, measure your sofa. The arrangement above it — one piece or a whole gallery — should span about two-thirds of the sofa’s width. On a 72-inch loveseat that’s roughly 48 inches of art; on an 84-inch sofa, about 56 inches; on a 96-inch three-seater, about 64 inches. Narrower than half the sofa and the art floats like a postage stamp; wider than the sofa itself and the wall looks top-heavy and the seating below feels squeezed.
This one rule is also your shopping filter. If you fall for a 24-inch print for an 84-inch sofa, you now know it’s not a solo piece — it needs partners to reach ~56 inches combined, or it belongs on a smaller wall. Measure the outside edges of the frames, not the art inside them; the frame is what the eye measures.
Budget tip: Already own art that’s too small on its own? Group it. Three medium frames you have cost $0 and can hit the two-thirds target together (see Idea 4).
2. Set the height — centre at 57 inches, 6–8 inches above the sofa back
Height is where most above-couch art goes wrong: people hang it where it’s easy to reach, which is almost always too high. The gallery standard is to hang art so its centre sits at 57 inches from the floor — average eye level. Over a sofa, one adjustment matters more: the bottom edge of the frame should sit 6–8 inches above the sofa back, close enough that the art and sofa read as one arrangement instead of two strangers.
Here’s the math on a typical sofa with a 34-inch-high back: bottom edge at 41 inches (34 + 7), and a 30-inch-tall piece then centres at 56 inches — neatly at eye level. If your sofa back is tall (38 inches or more), trust the 6–8 inch gap over the 57-inch centre; the gap is what the eye actually judges. Mark both lines lightly in pencil before anything goes on the wall.
Budget tip: Test the height with painter’s tape first — outline the frame’s exact size on the wall and live with it for a day. Tape costs $4; re-hanging costs pride and possibly a deposit.
3. Option one — a single statement piece
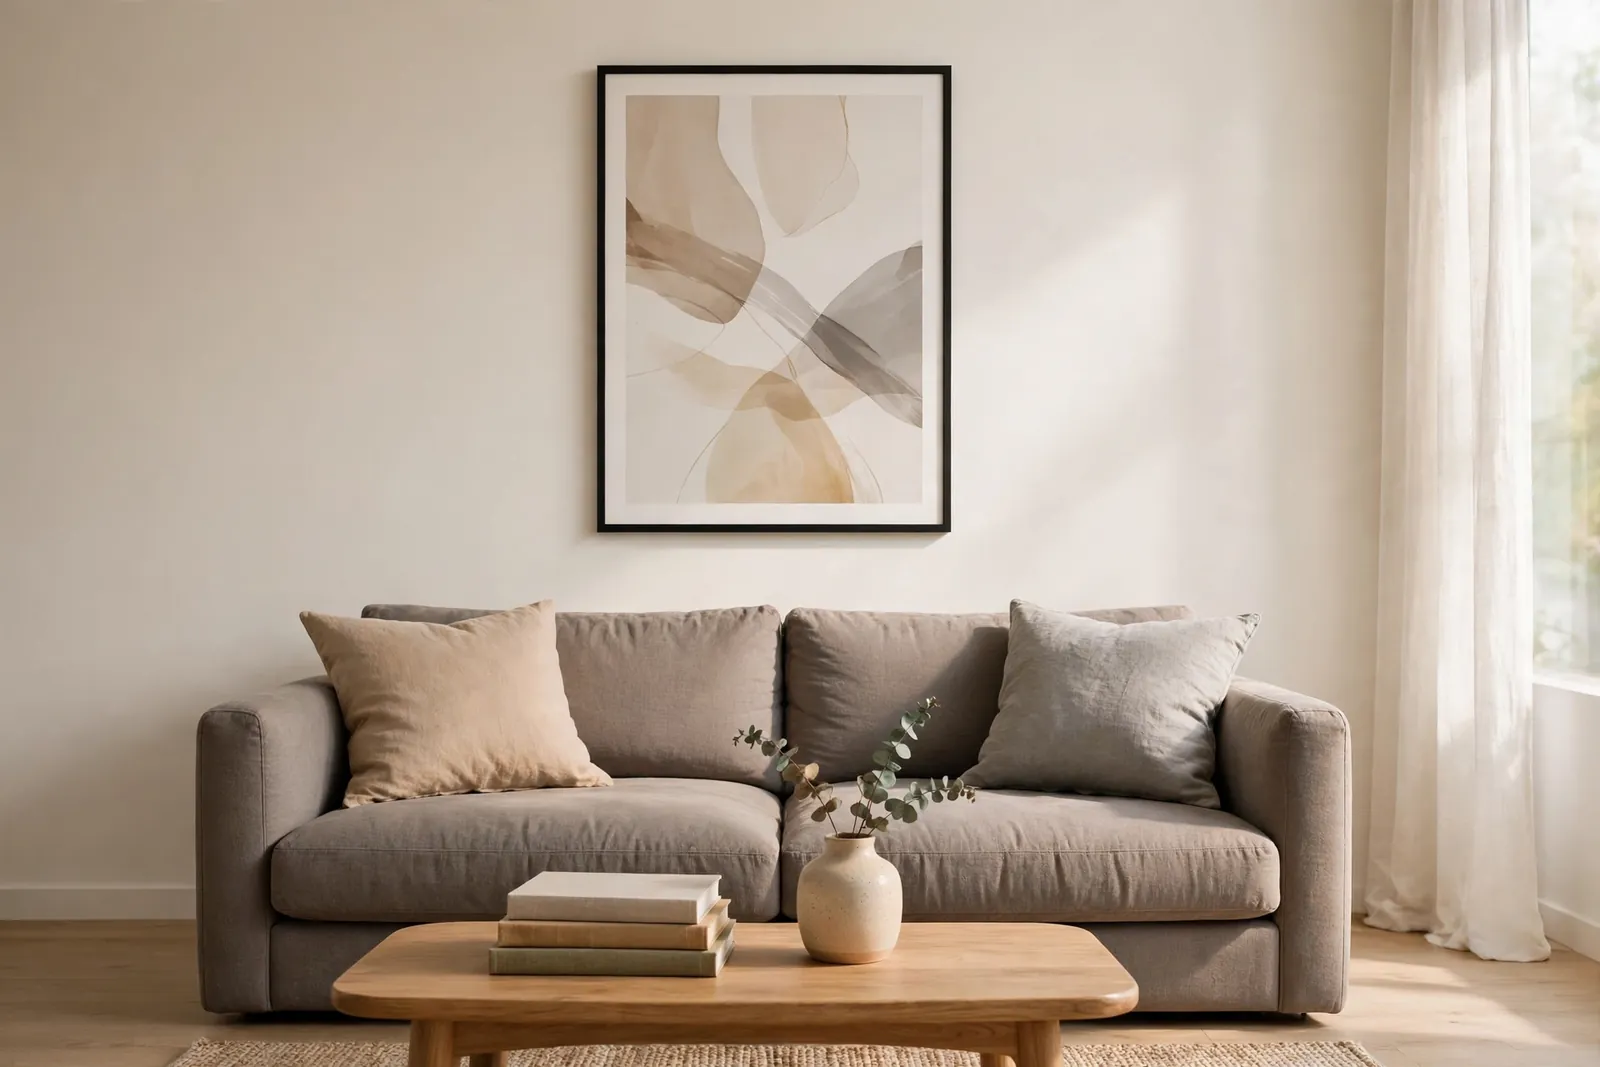
The simplest formula, and often the most expensive-looking: one large piece, centred, sized by the two-thirds rule. For most sofas that means a print around 24×36 inches up to 30×40 inches, in one clean frame. One big piece reads calmer and more deliberate than a cluster, and it’s the cheapest route to a “designed” wall because you’re buying one frame, not eight.
Keep the frame simple — thin wood, black or warm metal — and let the art carry the colour. A single piece also makes the rest of the room easier: pull one colour from the print into your pillow covers and the whole seating zone suddenly matches on purpose.
Budget tip: The print is the cheap part ($10–$25 for a digital download printed locally); the frame is where money goes. A standard-size 24×36 frame from a craft store ($20–$35 on sale) beats custom framing by $100 or more.
4. Option two — the gallery grid, spaced 2–3 inches
A grid is the most forgiving gallery style because the rules do the styling for you: same frames, same size, even gaps of 2–3 inches between every frame. Two rows of three 11×14 frames with 2.5-inch gaps gives you an arrangement about 40 inches wide and 31 inches tall — right for a loveseat; scale up to 16×20 frames for a full-size sofa. Keep the art inside one family: all black-and-white photos, all botanical prints, all one colour palette.
Plan it on the floor first, photograph the layout you like, then transfer it to the wall with paper templates (Idea 8 shows the no-regret method). Odd numbers of columns (three, five) centre more easily over a sofa than even ones, because there’s a middle frame to align with the sofa’s centre.
Budget tip: Matching frame sets are sold in bundles for a reason — a 6-pack of identical 11×14 frames runs $25–$40, far less than six frames bought one at a time.
5. Option three — lean it on a picture ledge
Leaning is the renter’s superpower: zero holes, and you can rearrange it in two minutes. A picture ledge (36–48 inches long) sits above the sofa at the same heights from Idea 2, and frames simply rest on it, overlapping slightly, largest at the back. Layer two or three pieces of different heights, add one small unframed canvas or a tiny plant, and the wall looks styled rather than hung.
An honesty note on mounting: many ledges are sold for screws, so choose one honestly rated for adhesive mounting and keep the load light — paper prints in slim frames, not heavy glass. If your walls won’t take even that, skip the ledge and lean the same arrangement on a narrow console table behind the sofa (most sofas hide a 6–8 inch gap back there anyway) — same look, nothing touches the wall at all.
Budget tip: One 42-inch ledge costs $20–$35 and replaces a whole set of frames’ worth of hanging hardware — and it moves with you to the next rental.
6. Option four — a mirror, for light and the illusion of space
In a small or dim living room, a mirror can beat art: it bounces window light deeper into the room and visually doubles the space behind you. The same formula applies — mirror width about two-thirds of the sofa, centre near 57 inches, bottom edge 6–8 inches above the sofa back. Round mirrors (28–36 inches across) soften all the straight lines of a sofa; an arched mirror adds height, which is gold in low-ceiling rooms.
Position matters: a mirror reflects whatever is opposite it, so check the view from the sofa before you commit — you want it facing a window or your prettiest corner, not the kitchen bins. Because mirrors are heavier than prints, this is the one option where you must respect adhesive ratings strictly or lean it on a console instead (Idea 5’s trick works beautifully for mirrors).
Budget tip: Thrifted and second-hand mirrors are decor’s best bargain — a solid 30-inch mirror with a dated frame is often $15–$30, and a $8 tester pot of paint fixes the frame.
7. Option five — a shallow shelf with layered pieces
If you like changing your decor with the seasons, a shelf gives you a rotating display: art at the back, smaller objects in front. Keep it shallow — 4–6 inches deep — so nothing looms over heads on the sofa, and mount or place it so the bottom of the shelf sits a little higher than a frame would: about 10 inches above the sofa back, since objects on it add their own height. Style it in threes: one tall piece (framed print), one medium (small stack of books or a vase), one low (candle, small bowl) — then stop. A crowded shelf reads as storage, not decor.
The renter-safe routes from Idea 5 apply word for word: an adhesive-rated ledge-style shelf with a light load, or a sofa-back console doing the same job from below. Either way, keep anything heavy or breakable off the section directly above where heads rest — lean the tall pieces at the ends instead.
Budget tip: A shelf display is the cheapest arrangement to refresh — swapping two prints and one object costs $0–$15 and makes the whole room feel newly decorated.
8. Hang everything with zero holes — the renter’s toolkit
Every arrangement above goes up the same way. Work in this order and the wall survives move-out day untouched:
- Weigh each frame on a kitchen scale, then buy adhesive strips rated above that weight — and use two pairs per frame, not one, on the top corners.
- Clean the wall spot with rubbing alcohol, press the strips for the full 30 seconds the pack states, and let them set for the stated hour before the frame goes up. Most “adhesive failures” are skipped set-times.
- Templates before strips: trace each frame on kraft paper or newspaper, tape the papers up with painter’s tape, adjust until the two-thirds width and the 6–8 inch gap look right, then mark the strip positions through the paper.
- Lean first if you’re unsure — a week of leaning on a console tells you whether you love the arrangement before anything sticks to a wall.
Budget tip: One $10 multi-pack of large strips covers a whole gallery wall. Buy the pack rated for the heaviest frame in the group and use it for all of them — mixing strip types is how frames end up crooked.
Our Budget Picks for Above the Couch
Links below are affiliate links — the price is the same for you; see our Affiliate Disclosure for details. Placeholders are marked for the final product links.
- Large adhesive picture-hanging strips (multi-pack) — the foundation of every arrangement here; rated well above your heaviest frame. $8–$14.
- 24×36 inch frame, thin wood or black — standard size, so prints stay cheap and swappable; the statement-piece route. $20–$35.
- Gallery frame set, 6-pack of 11×14 — identical frames for the grid in Idea 4; buy two packs for a full-size sofa. $25–$40.
- Picture ledge, 42-inch, adhesive-rated — for the leaning arrangement; check the load rating against your frames. $20–$35.
- Round mirror, 30-inch — the light-bouncing option for dim rooms; thrift it first, buy new only if the size is elusive. $35–$70 new.
- Painter’s tape + kraft paper roll — the $6 template kit that prevents every hanging mistake in this guide. $6–$10.
FAQ
How high should art hang above a couch?
Aim for two marks: the centre of the arrangement near 57 inches from the floor (eye level), and the bottom edge 6–8 inches above the sofa back. If the two rules disagree — usually with a tall sofa back — trust the 6–8 inch gap; that’s the distance the eye actually reads.
How wide should art above a couch be?
About two-thirds the width of the sofa, measuring the outside edges of the frames. That’s ~48 inches over a 72-inch loveseat, ~56 inches over an 84-inch sofa and ~64 inches over a 96-inch sofa. Between half and two-thirds still works; below half is where art starts to look lost.
How far apart should gallery wall frames be?
2–3 inches between every frame, kept ruthlessly even — in a grid, consistent gaps matter more than the art itself. For a looser, salon-style cluster, 1.5–2.5 inches is fine, but keep one edge line (top or bottom) aligned so the group still reads as one arrangement sized by the two-thirds rule.
How do I hang heavy frames or a mirror without nails, as a renter?
Weigh the piece, then use adhesive strips rated above that weight — two pairs per frame, wall cleaned with rubbing alcohol, full set time before hanging. For a heavy mirror, the safest renter option is often not to hang it at all: lean it on a picture ledge rated for the load or on a console table behind the sofa. Always follow the strip maker’s weight rating and removal instructions to protect your deposit.
Is a mirror or art better above a couch in a small room?
A mirror wins in small or dim rooms — it reflects light and makes the space feel larger, as long as it faces something worth reflecting (a window is ideal). Art wins when the room already has good light and you want colour or personality. Both follow the same formula: two-thirds width, centre near 57 inches, bottom edge 6–8 inches above the sofa back.
Keep Going (internal links)
- This wall is one of 9 fixes in the full room guide → Small Living Room Decor on a Budget
- Planning a whole gallery wall from scratch? → Gallery Wall Layout Ideas
- Every no-damage wall method, rated → Rental Friendly Wall Decor Ideas
- Match the art to what’s below it → Throw Pillow Combinations for the Couch
- Balance the wall with the floor → Rug Layering Ideas for the Living Room