
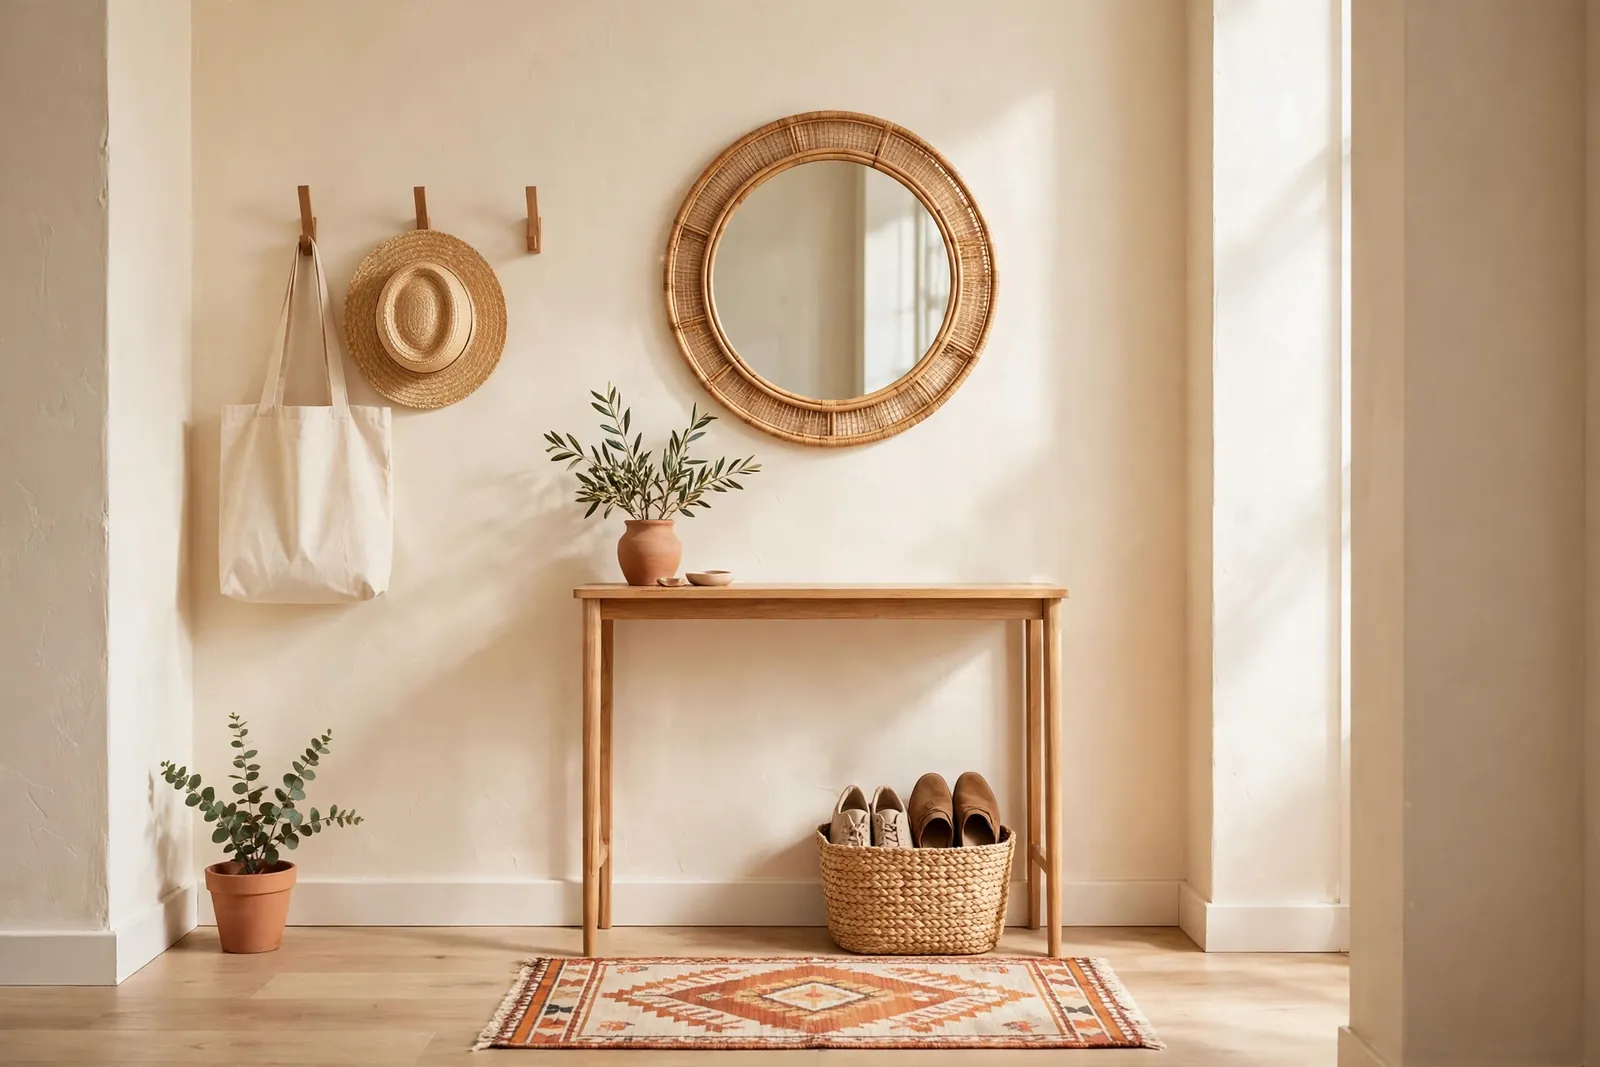
Most small homes don’t have an entryway problem — they have a drop zone problem. Keys land on the kitchen counter, shoes pile up by the door, mail migrates to the dining table, and the first thing you see when you walk in is a small daily avalanche. The fix isn’t a bigger hallway. It’s giving the four things you carry — keys, mail, bag, shoes — a planned home within three steps of the door.
This guide builds a complete small entryway in the order that works: the landing-strip system first (free), then the slim furniture that fits a narrow wall, then the renter-safe storage and hooks, then the mirror, rug and light that make it feel like a room instead of a corridor. Everything is removable: no drilling required, nothing your landlord can object to. Full setup cost: roughly $40–$150, and most homes only need four or five of the eight ideas.
Quick glance
- Budget: $0 (system only) up to ~$150 for the full setup
- Time: one afternoon, start to finish
- Difficulty: beginner — a tape measure and a level app on your phone
- Renter-safe: yes, 100% — adhesive, over-door and freestanding options throughout
1. Set up a landing strip before you buy anything
Decorators call the spot where everything lands the “landing strip,” and designing it on purpose is the whole secret. Stand at your front door and take three normal steps in — that arc is your zone. Everything you carry should be put down inside that arc, or it will end up scattered across the home.
Give each category one — and only one — home: keys in a small bowl or on one hook, mail in a single tray or wall pocket, bag on one hook, shoes in one closed spot (Idea 3). The rule that keeps it working: nothing lives on the floor and nothing lives on the console surface except the bowl and the tray. When a category overflows its home, the answer is a quick edit, not a bigger pile.
Budget tip: This step is completely free. A cereal bowl works as a key bowl and a shoebox lid works as a mail tray while you decide what to buy — live with the system for a week first, then purchase only what proved necessary.
2. Choose a slim console — 12 inches deep or less
A standard console table is 14–16 inches deep, which is exactly what a small entryway can’t spare. Look for slim consoles at 10–12 inches deep (some are as narrow as 8), and measure your wall before ordering: leave at least 32–36 inches of clear walkway between the console edge and the opposite wall or furniture, or the space will feel like an obstacle course.
Length matters less than depth. A 32–40 inch console covers most small entries; if your wall run is under 30 inches, skip the table entirely and use a floating-look ledge: a wall-mounted shelf at about 34 inches high gives you the same landing surface with zero floor footprint — renters can use heavy-duty adhesive shelf brackets rated for the load, or a leaning ladder shelf that needs no fixing at all. Keep the styling to the 3-item rule: key bowl, one plant or candle, one stacked book or small basket. Everything else is clutter wearing a costume.
Budget tip: Hallway and sofa tables are the same furniture with different labels — second-hand slim tables run $15–$40, and a coat of paint in your trim colour makes a thrifted piece look built-in.
3. Hide the shoes in closed storage
An open shoe rack by the door is honest but it reads as mess from the living room, because shoes are visual noise — different colours, shapes and angles. Closed storage is the single upgrade that makes a small entryway feel calm. The renter-friendly champion is the tilt-out shoe cabinet: only 7–9 inches deep, it holds 6–10 pairs behind a flat front that looks like a console. Freestanding, no fixing needed, roughly $45–$90.
Short on width instead of depth? A storage bench (about 32 inches wide, 12–14 deep) does double duty — sit to put shoes on, hide four to six pairs inside. Whichever you choose, keep a strict two-pair-per-person rule at the door: the everyday pair and the going-out pair. Everything else lives in the bedroom closet. Overflow is what turns storage back into a pile.
Budget tip: Before buying any cabinet, count the shoes actually by your door tonight. Most households find 10–14 pairs squatting there for 2 people — a ruthless closet transfer often shrinks the “need” to a $15 slim rack inside the cabinet you already own.
4. Hang hooks and peg rails — the renter-safe way
Hooks are the entryway’s hardest workers: coats, bags, hats, the dog lead, a guest’s jacket. The measurements that make them work: mount the rail at 66–68 inches for coats (long coats need the hook at 68 and nothing stored beneath), space hooks 8–10 inches apart so bulky coats don’t fight, and keep one hook at 48 inches if kids need to reach.
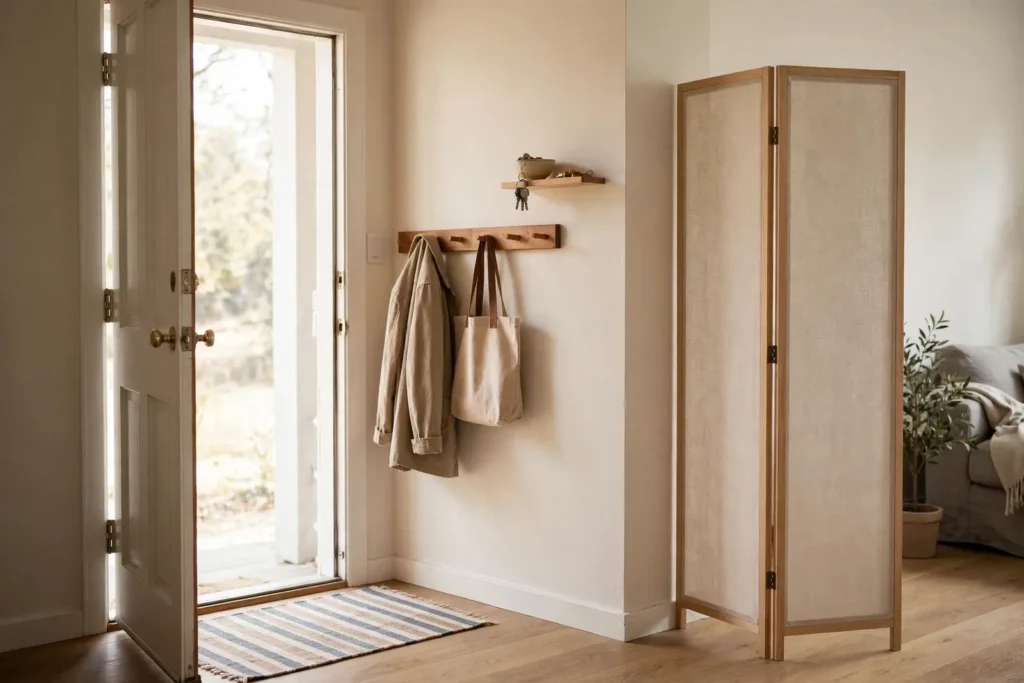
Renters have three honest no-drill routes, in order of strength: over-door hooks on the back of the entry or a closet door (zero wall contact, hold 5–10 lb per hook depending on the model); adhesive hooks and adhesive-backed peg rails — the large picture-hanging style strips hold up to roughly 7 lb per pair used correctly; follow the pack rating, press for the full stated time, and wait the full hour before loading; and a freestanding coat stand in a corner (about 12 inches of floor) when walls are off-limits entirely. Avoid vacuum suction hooks for anything heavier than a cap — they let go at 3 a.m. and take your confidence with them.
Budget tip: Buy one rail with 4–5 hooks ($12–$25) instead of individual decorative hooks — it’s cheaper per hook, the spacing is already right, and it reads as one calm line instead of scattered hardware.
5. Add a mirror — for the light and the last check
Entryways are usually the darkest square metres in the home, and a mirror is a cheat code: it bounces whatever light exists (including from the room behind you) and gives you the final check — collar, teeth, toddler’s breakfast on your shoulder — before you leave. Size rule: at least 24 inches across to be genuinely useful; a round mirror softens a boxy hallway and a 28–32 inch round is the sweet spot above a slim console. Hang it so the centre sits at 57–60 inches from the floor, matching average eye level.
Renter-safe hanging mirrors are about weight discipline: a lightweight framed or frameless mirror under 10 lb hangs safely on two pairs of large adhesive strips (one pair is the classic mistake — always use two, spaced at the top corners). Or skip hanging completely: lean a tall mirror on the console or against the wall behind the console, where it can’t slide. Position it opposite or beside a doorway into a lit room and it will double the light you actually notice.
Budget tip: Mirrors are the thrift store’s best-kept secret — large framed mirrors run $10–$25 second-hand because they’re heavy to ship new. A tired frame is a $6 can of spray paint away from looking custom.
6. Size the runner like you mean it
A runner does three jobs: catches the dirt at the door, quiets the echo of a hard-floor hall, and draws the eye down the space so it feels longer. The sizing rules: width should leave 3–5 inches of floor visible on each side — in most small entries that means a 2 × 6 ft or 2 × 7 ft runner (24–28 inches wide). Length should cover the door swing and the first few steps, ending before the console legs get awkward, not under them.
Two non-negotiables: the front door must clear it — check you have roughly ⅜ inch of clearance under the door, and choose low-pile or flatweave for that reason — and it must not slide. A rug pad or rug tape corners ($8–$15) are part of the purchase, not an accessory; a slipped runner at the door is how ankles get twisted. Washable runners earn their keep here — the entryway rug is the hardest-working textile in the home and should survive the machine monthly.
Budget tip: Flatweave cotton runners are the value pick at $20–$45 for a 2×6 — they wash well, dry fast, and a stripe running lengthways makes a short hall read longer for free.
7. Fix the light — warm, low and automatic
Most entryways have one sad ceiling bulb, usually the wrong colour. Aim for 2700K warm light at around waist-to-eye height rather than overhead glare: a small plug-in lamp on the console, or a plug-in wall sconce mounted with adhesive brackets with the cord run inside a paintable cord cover — the “hardwired look” for about $20–$35 all-in, fully removable.
The genuinely life-improving addition is a motion-sensor light — a rechargeable LED bar (adhesive-backed, roughly $10–$18) inside the shoe cabinet or under the console edge. It comes on when the door opens, so you land your keys and shoes in light instead of groping, and it never gets left on. Coming home after dark to a lit entryway is the cheapest “this place feels cared for” signal there is.
Budget tip: Match the bulb colour to the living room’s lamps (2700K throughout) — mismatched colour temperatures between connected spaces are a subtle “something’s off” that guests feel but can’t name.
8. No entryway at all? Build a 3×3 ft one
Many small apartments open straight into the living room — door, then sofa, no transition at all. You can still manufacture an entryway out of one 3×3 ft square of floor: usually the corner directly behind the door swing, or the wall the door opens against.
Mark the zone with a 3×3 ft (or 2×3) washable rug — the rug is the boundary line your household will respect. Inside the zone, go vertical only: one slim adhesive peg rail at 66 inches, one small shelf at console height with the key bowl and mail tray, the tilt-out shoe cabinet if the swing allows, or hooks plus a wall-hung shoe organiser if it doesn’t. Then give the zone an edge: a bookcase, curtain panel on a tension rod, or a folding screen placed perpendicular to the wall at the zone’s open side creates the psychological “room” — you step out of the entryway into the living room, and shoes stop migrating because the border is visible.
Keep the discipline identical to a real hallway: everything carried stops inside the square. A fake entryway maintained like a real one stops being fake within a week.
Budget tip: The starter version is under $40: rug ($20), adhesive hook rail ($12) and a key bowl you already own. Add the screen or shelf later — the zone works from day one.
Our Budget Picks for a Small Entryway
Links below are affiliate links — the price is the same for you; see our Affiliate Disclosure for details. Placeholders are marked for the final product links.
- Slim console table, 10–12 inch depth — the anchor piece; measure your walkway first (32–36 inches clear) and buy the depth, not the look. $40–$80.
- Tilt-out shoe cabinet, 2-tier — 7–9 inches deep, hides 6–10 pairs behind a console-like front; freestanding, zero fixing. $45–$90.
- Wooden peg rail, 4–5 hooks — pre-spaced at the right intervals; adhesive-mount versions suit renters, screw-mount for owners. $12–$25.
- Round wall mirror, 28–32 inch — the light multiplier and last check; keep it under 10 lb for adhesive hanging. $25–$60.
- Washable flatweave runner, 2×6 ft — low pile for door clearance; budget the rug pad or tape in the same order. $20–$45.
- Rechargeable motion-sensor LED light bar — adhesive-backed; lights the shoe cabinet and your arrival, charges by USB. $10–$18.
FAQ
How do I make an entryway when my front door opens straight into the living room?
Claim one 3×3 ft square — usually the corner behind the door swing. Mark it with a small washable rug, then work vertically: one hook rail, one small shelf for keys and mail, and closed shoe storage if the swing allows. Add a bookcase, screen or curtain at the open edge to make the boundary visible, and treat the square with the same discipline as a real hallway.
What size console table fits a small entryway?
Depth is the deciding measurement: 10–12 inches deep is the small-space range (standard consoles are 14–16). Length of 32–40 inches suits most entries. After placing it, you should still have 32–36 inches of clear walkway. If your wall is under 30 inches, skip the table and use a wall shelf at about 34 inches high instead.
How many shoes should live at the front door?
Two pairs per person: the everyday pair and one alternative. Everything else belongs in a bedroom closet. A tilt-out cabinet (7–9 inches deep) hides 6–10 pairs for a two-person household and keeps the entry visually calm — open racks work, but they always look like a pile from the next room.
Can I really hang hooks and a mirror without drilling, as a renter?
Yes, within honest weight limits. Over-door hooks carry the most (about 5–10 lb per hook). Large adhesive strips and rails hold roughly 7 lb per pair of strips when applied exactly as the pack directs — use two pairs for a mirror, keep it under 10 lb total, and wait the full setting hour before loading. Freestanding coat stands and leaning mirrors need no wall contact at all.
How much does a small entryway setup actually cost?
A working starter setup is about $40: an adhesive hook rail ($12), a small washable rug to mark the zone ($20) and a key bowl from your kitchen ($0). The full calm version — slim console, closed shoe storage, mirror, runner and lighting — lands between $100 and $150 if you buy new, and well under that with a thrifted console and mirror.
Keep Going (internal links)
- Decorating the room the entry leads into? → Small Living Room Decor on a Budget
- Every no-damage wall method, rated → Rental Friendly Wall Decor Ideas
- One room doing the job of three? → Studio Apartment Decorating Ideas
- The other small space guests always see → Small Bathroom Decor Ideas on a Budget
- A corner worth sitting in → Cozy Reading Nook Ideas for Small Spaces