
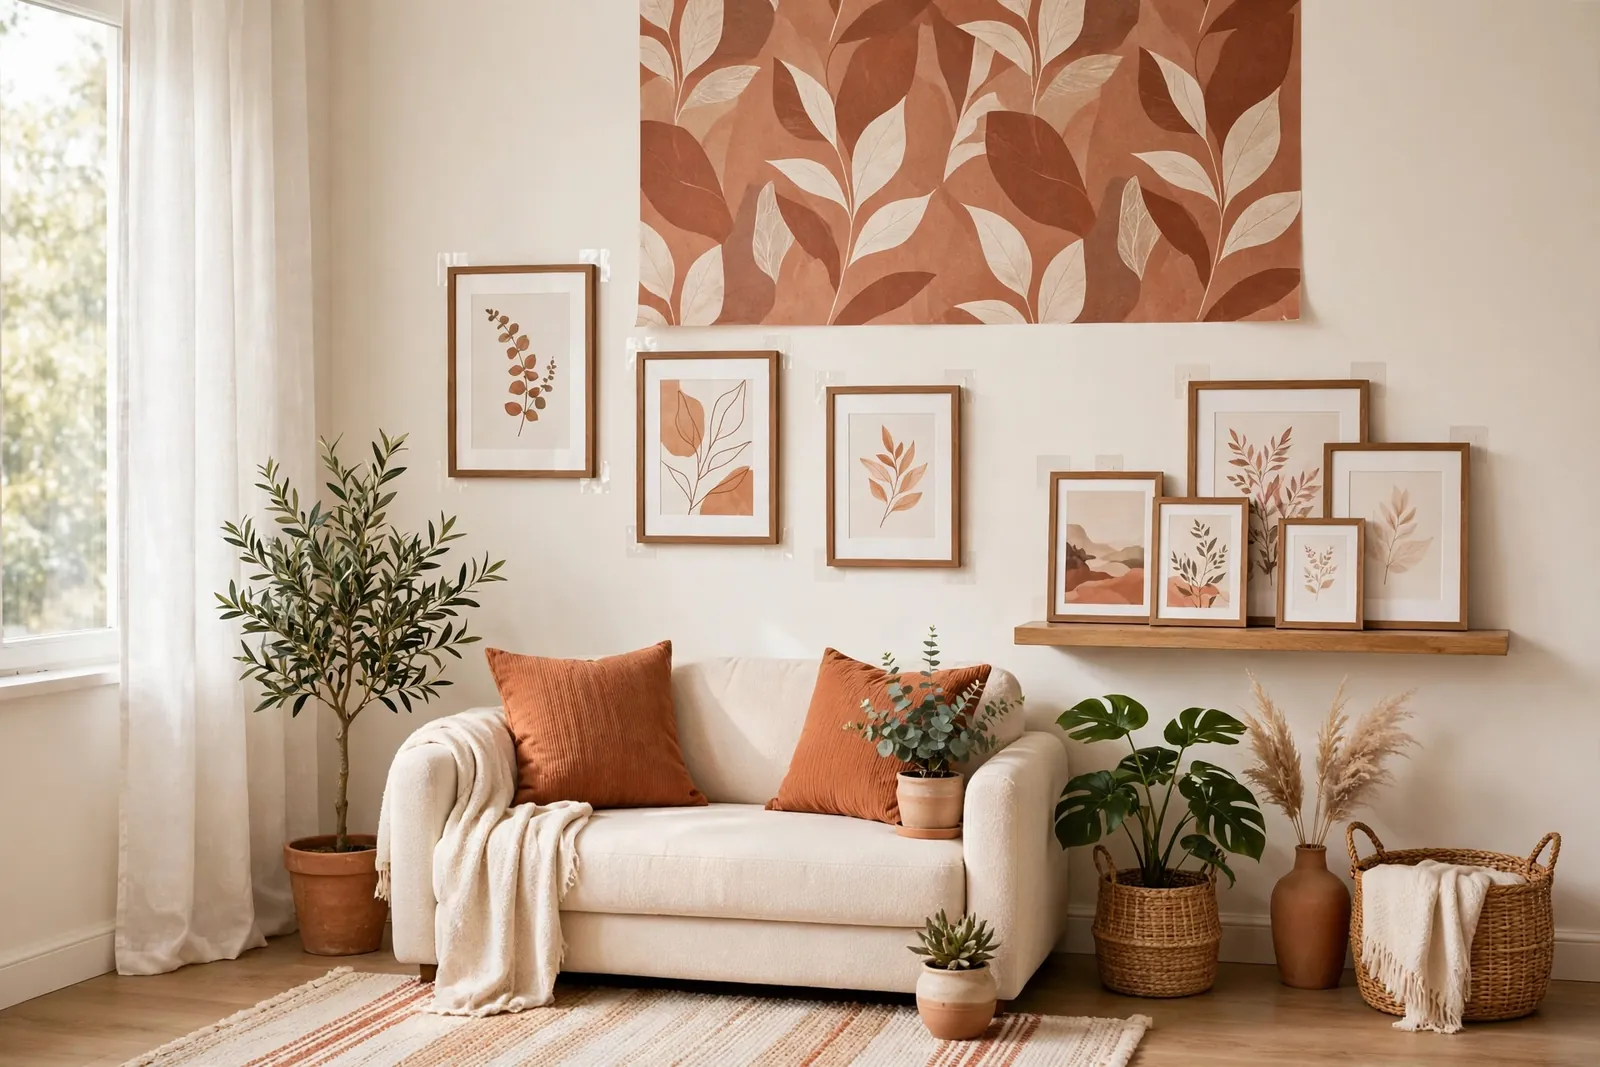
Bare walls are the number-one thing that makes a rental feel temporary. The frames stay in boxes, the art leans in a corner waiting for “someday,” and the deposit hangs over every decorating decision. Here is the honest truth: you can fill every wall in a rental without drilling a single hole — but not every no-drill method is as safe, as strong, or as removable as its packaging claims.
This guide rates the seven methods renters actually use, one by one: what each holds, what it costs, how it fails, and how safe your deposit really is. Everything here sits in the $10–$60 range, and the last section covers the mistakes that actually cost people money — the method rarely damages the wall; the removal does.
Quick glance
- Budget: $10–$60 covers most walls; a full room is realistic at $60–$120
- Time: an hour or two per wall, including measuring and levelling
- Difficulty: beginner — a tape measure, a level app and patience
- Renter-safe: yes, with the test-patch and removal rules in the last section
1. Adhesive hanging strips — the renter’s workhorse
Interlocking adhesive picture strips are the default for a reason: they hold real frames, come off cleanly when removed correctly, and cost almost nothing per picture. They work in pairs — one half on the frame, one on the wall — and the large sizes are typically rated from around 4 lb up to 16 lb per set of pairs, depending on brand and size. Read that rating properly: it assumes multiple pairs, spread across the frame as the pack directs, on a smooth, sound painted wall.
The rules that make them work: clean the spot with rubbing alcohol first, press each strip firmly for 30 seconds, and let the adhesive cure for the full hour the pack states before hanging anything. Use one pair more than you think you need, and never hang anything breakable above a bed or sofa on strips alone — gravity plus a hot summer wall is a real combination. On removal, technique matters more than product: pull the tab slowly, straight down along the wall, never out toward you, and the strip stretches and releases without taking paint with it.
Deposit safety: 5/5 when the paint underneath is in good condition and you remove them the slow way. Best for: framed prints and canvases up to a few kilos.
Budget tip: Buy the multi-pack in the largest size — it’s cheaper per pair than small packs, and oversizing the strips is the cheapest insurance in this whole guide. A full wall of frames usually runs $8–$14 in strips.
2. Leaning art and picture ledges — zero wall contact at all
The only method with literally no adhesive, no holes and nothing to remove: lean the art instead of hanging it. A large framed print leaned on a console table, sideboard, mantel or low bookshelf reads as deliberately casual — the look decorators use in owned homes too, which is why it never reads as “renter compromise.” Layer two or three pieces of different heights and a bare corner becomes a styled vignette for the price of the frames alone.
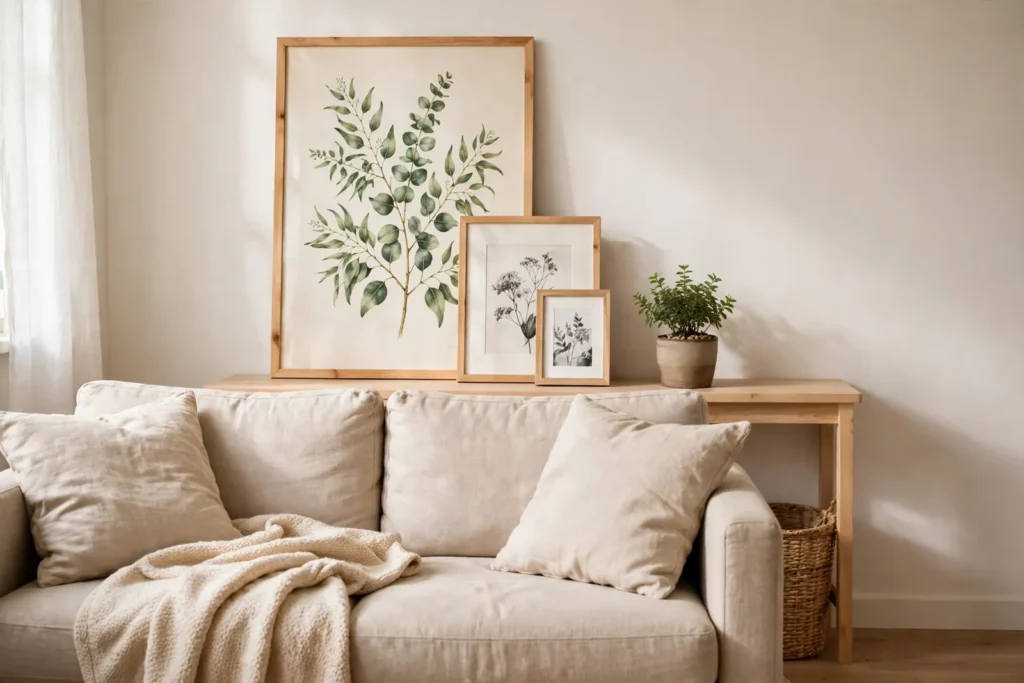
Picture ledges take the same idea up the wall: a shallow shelf (24–47 inches long, typically $15–$35) holding a rotating row of frames. One honest catch — most ledges are screwed in. The renter versions are heavy-duty adhesive-mounted ledges rated for light loads; keep those to small frames, follow the weight rating strictly, and treat them as decoration, not storage.
Deposit safety: 5/5 for leaning (nothing touches the wall), 4/5 for adhesive ledges. Best for: your largest, heaviest piece — the one nothing else can safely hold.
Budget tip: Leaning is free if you already own the art. Spend the money on one oversize print (24×36 inches, $25–$45 framed) instead of several small ones — one big leaned piece looks more expensive than a scattered mini-gallery.
3. Peel-and-stick wallpaper and decals — biggest impact, biggest caution
Nothing transforms a rental wall like peel-and-stick wallpaper: a full accent wall in an afternoon, typically $30–$60 a roll, with most small accent walls needing one to two rolls. Decals and sticker tiles do the same job in miniature for $10–$25. It’s the highest-impact method on this list — and the one with the most honest fine print, so here it is plainly:
Peel-and-stick is only as removable as the paint underneath it. On modern, well-primed, properly cured paint it usually peels away cleanly. On cheap, old, chalky or freshly painted walls it can lift paint or leave residue — “removable” on the label describes the product, not your wall. Always do a test patch first: apply an offcut behind furniture, leave it at least a week (a month is better), then peel slowly and check. On removal day, peel slowly at a low angle, warm stubborn sections gently with a hairdryer on low, and never yank.
Deposit safety: 3/5 — entirely dependent on your paint. Best for: one accent wall or a small nook, after a passed test patch.
Budget tip: Don’t paper a whole room. One wall behind the sofa or bed gives 90% of the effect for a third of the cost — and a third of the removal work on moving day.
4. Tension rods — curtains, canopies and shelves with no hardware
A tension rod holds itself up by pressure between two walls or inside a frame — no screws, no adhesive, nothing to reverse. Beyond curtains, the wall-decor uses are better: a rod across an alcove hung with sheer fabric makes a soft backdrop wall, and two rods with a board across them make a shallow display shelf in a niche. Spring rods run $8–$15; sturdier twist-lock rods rated for heavier curtains run $15–$30, roughly 28–84 inches depending on size.
The honest limits: tension rods hold curtains and fabric, not heavy shelving — respect the weight rating, because a rod that slips at 2 a.m. damages whatever is under it, not the wall. They also need two opposing surfaces within reach, so they solve alcoves, niches and windows rather than open walls.
Deposit safety: 5/5 — pressure only, and it releases in seconds. Best for: curtain backdrops, photo strings and softening a blank alcove.
Budget tip: A sheer curtain panel ($10–$20) on a rod behind a sofa hides a whole ugly wall — pipes, stains, landlord beige — for less than one large frame costs.
5. Washi tape — the $5 gallery wall
Washi tape is decorated masking tape: it holds paper and light prints, peels off with the least fight of anything on this list, and a roll costs $3–$6. The look is deliberately informal — unframed prints, photos and postcards taped in a loose grid or salon arrangement, tape visible as part of the design. A whole gallery can cost under $15 and come down in five minutes.
The honest weaknesses: it holds paper, not frames — anything with real weight will be on the floor by morning. And cheap tape left up for a year in a sunny room can bake on or leave a faded rectangle where the paint beneath aged differently. Keep washi displays to months, not years, and test one strip in a hidden spot first, like everything else on this list.
Deposit safety: 4/5 for short-term use on sound paint. Best for: photos, postcards, prints and anything you rearrange often.
Budget tip: Buy one wide roll in a neutral or metallic finish instead of a novelty multi-pack — a single consistent tape colour makes a $10 photo wall look designed instead of scrapbooked.
6. Peg rails and clamp hooks — hang things without touching the wall finish
A peg rail is a horizontal board with pegs; in owned homes it’s screwed to the wall, but renters use the same idea three safer ways. Lean a tall rail or ladder shelf against the wall and hang frames, baskets and plants from its rungs with S-hooks and clamps. Use clamp hooks and over-door hangers — the door takes the load, not the wall. Run a wire or cord between two bookcases and clip prints along it, market-style.
Rails and ladder shelves cost $25–$60 and earn it back as furniture, not just hardware: they hold real weight — a plant, a basket of throws, several frames — that no adhesive on this list should be trusted with. The trade-off is floor space, so plan it as a styled corner, not a whole-wall solution.
Deposit safety: 5/5 (pressure and furniture do the work; add felt pads where a leaning rail touches the wall so it can’t scuff). Best for: heavy or awkward things, and entryways where hooks earn their keep daily.
Budget tip: A thrifted wooden ladder ($10–$20) is the same idea for half the price of a new ladder shelf — sand it lightly, lean it, and hang.
7. Mirrors on adhesive pads — the one to be most careful with
A mirror does more for a small rental room than almost any art: it doubles light and fakes a second window. It’s also the heaviest, most breakable thing you’ll put on a wall, so this method gets the sternest rating here. Foam adhesive pads are sold everywhere for the job, but foam pads alone are not a safe way to hang a framed mirror of any real size — foam creeps, heat softens it, and a falling mirror is a safety problem, not just a deposit problem.
The renter-safe hierarchy for mirrors: lean it (a full-length mirror against the wall is a styled look and the automatic first choice); hang it on heavy-duty strips in multiple pairs only if it’s genuinely light — acrylic mirrors weigh a fraction of glass and cost $20–$40; or rest it on a ledge with a strip or two behind the top edge as an anti-tip measure. A heavy glass mirror in a wooden frame? Lean it or floor-stand it — no adhesive rating is worth a falling mirror.
Deposit safety: 4/5 leaned or acrylic-on-strips; 1/5 for heavy glass on foam pads — don’t. Best for: acrylic mirrors and anything you can lean.
Budget tip: Acrylic mirror tiles and panels ($15–$30 a set) give you the light-bouncing effect in peel-and-stick form at a quarter of the weight of glass — check the reflection quality in reviews, as the cheapest ones distort.
8. What can go wrong — and how to protect your deposit
Every method above is safe on a sound wall and risky on a bad one. The damage stories almost always trace back to the same few causes, and all of them are avoidable:
- Bad paint is the real enemy. Old, chalky, glossy or freshly painted walls (paint needs roughly 30 days to fully cure) are where strips and peel-and-stick take paint with them. If your walls look tired, stick to leaning, tension and furniture-based methods.
- Test everything first. One strip, one tape corner, one wallpaper offcut — behind a door or inside a closet, left for at least a week. A failed test costs nothing; a failed wall costs real money.
- Heat and sun change the rules. Adhesives soften near radiators, stoves and sunny windows. Keep strip-hung frames away from heat, and re-check them after the first hot week.
- Removal technique is the whole game. Strips: pull the tab slowly straight down, hand flat against the wall. Peel-and-stick: low angle, slow, gentle hairdryer warmth on low. Washi: peel back on itself, slowly. Residue: warm soapy water or a citrus-based remover on a cloth — test in a corner first, never scrub.
- Document the walls before you decorate. Dated photos of every existing mark and scuff, taken on move-in day, settle more deposit arguments than any product on this page.
Follow those five rules and the worst realistic outcome is an hour of slow peeling on moving day — exactly the deal renting is supposed to offer.
Our Budget Picks for Rental-Safe Walls
Links below are affiliate links — the price is the same for you; see our Affiliate Disclosure for details. Placeholders are marked for the final product links.
- Large adhesive picture-hanging strips, multi-pack — the foundation of most rental walls; buy the size rated above your heaviest frame. $8–$14.
- Peel-and-stick wallpaper, one roll — for a single tested accent wall; order the sample first. $30–$60.
- Tension rod, twist-lock — curtains, alcove backdrops and photo strings with zero hardware. $15–$30.
- Acrylic mirror panels, set — mirror light at a fraction of glass weight, safe on strips. $15–$30.
- Washi tape, wide neutral roll — the $5 gallery wall for prints and photos. $3–$6.
- Over-door hook rail — wreaths, mirrors and organisers, door takes the load. $8–$18.
FAQ
What is the safest way to hang pictures in a rental?
Adhesive picture-hanging strips on sound paint — in pairs, rated above the frame’s weight, cured for the full hour, removed by pulling the tab slowly straight down. For anything heavy or valuable, lean it instead: nothing touches the wall at all.
Can peel-and-stick wallpaper really damage the wall?
Yes, it can — despite “removable” on the label. It removes cleanly from modern, well-primed paint, but can lift old, chalky or freshly painted surfaces and leave residue. Test an offcut in a hidden spot for at least a week first, peel slowly at a low angle on removal day, and use gentle hairdryer heat on stubborn sections.
How much weight can adhesive strips actually hold?
It depends on size and how many pairs you use: small pairs are rated around 1–4 lb, and large pairs used as directed hold substantially more — the rating assumes multiple pairs spread across the frame on a smooth wall. Buy one size above your frame’s weight, and never hang heavy or breakable pieces above beds or sofas on strips alone.
Will washi tape damage paint?
Usually not — it’s the gentlest adhesive here. The exceptions are cheap tape left up for a year or more, especially in sun, which can bake on or leave a faded rectangle. Keep displays up for months rather than years, and test one strip first.
How do I hang a mirror without drilling?
Lean it — a full-length mirror against the wall is a deliberate, styled look with zero risk. If it must go on the wall, choose a lightweight acrylic mirror on multiple pairs of heavy-duty strips. Never hang a heavy glass mirror on foam pads: they creep and soften with heat, and a falling mirror is dangerous, not just expensive.
Keep Going (internal links)
- Start with the room itself → Small Living Room Decor on a Budget
- The sizing formula for the wall above your sofa → Above Couch Wall Decor Ideas
- Planning a full gallery wall, with measurements → Gallery Wall Layout Ideas
- Peel-and-stick, one room deeper → Peel and Stick Wallpaper in the Bedroom
- One room that has to do everything → Studio Apartment Decorating Ideas